


In Stock
19,313 Ft
(tax incl.)
Online price
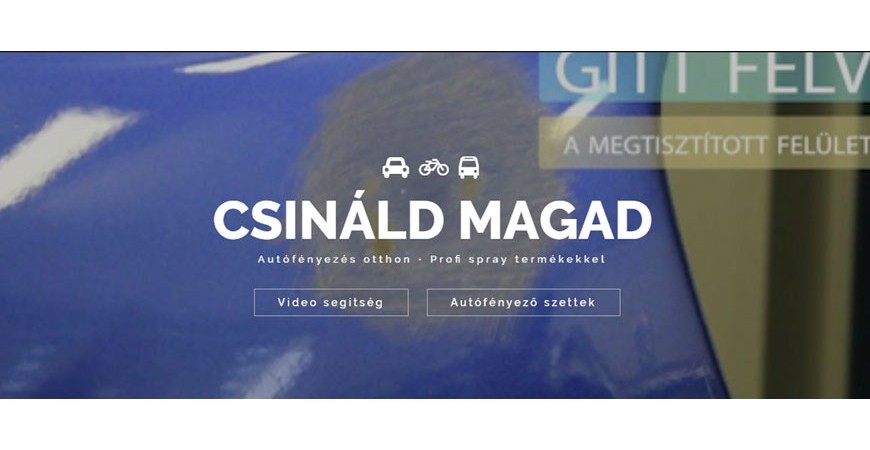
Car painting may seem like a mysterious and complex process that only professional experts can perform. However, the truth is that with a bit of attention and by following the proper instructions, anyone can repaint their own car, even in a home environment. In this blog post, we’ll show you how to achieve professional results with simple tools and our step-by-step video guide. If you've hesitated about car painting until now, it’s time to start confidently and make your car shine again as if it just rolled off the assembly line!
Due to popular demand, we decided to create a detailed video guide covering each step of at-home car painting, along with the necessary materials and techniques. Throughout the entire project, we used spray products available in our online store to demonstrate that excellent results can be achieved with these products. For painting, we chose a beautiful blue metallic color from the DeBeer color system, with large metallic flakes to add an extra challenge. Let’s not waste any more time; let’s get straight to the point.
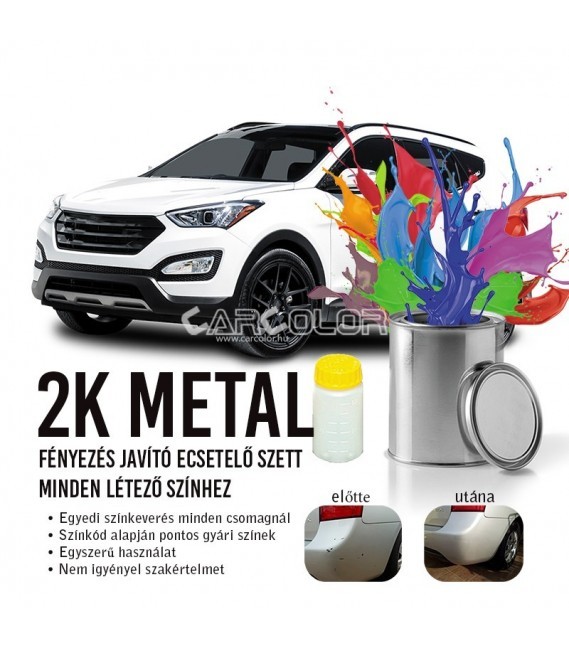
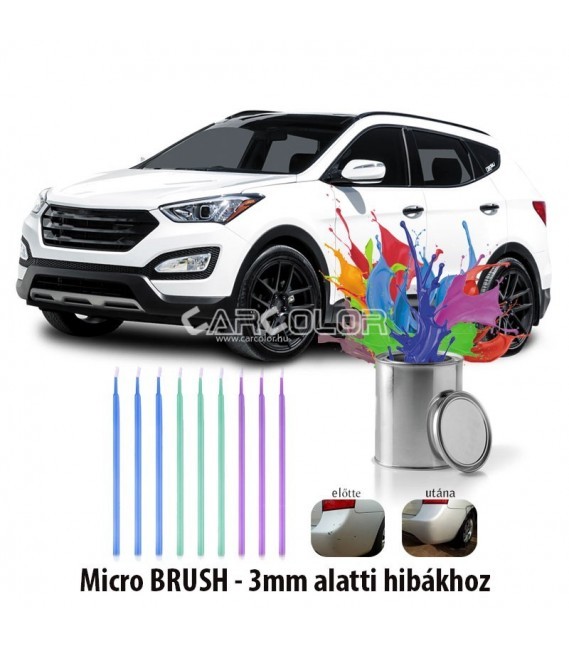
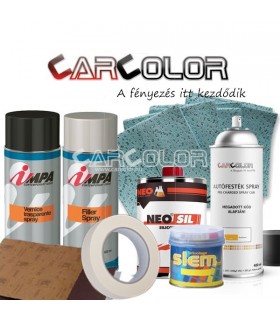
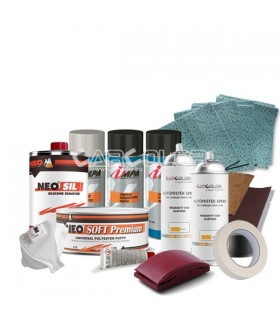
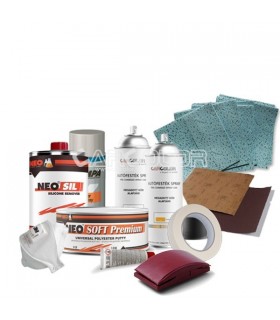
Our DIY kit is now available in the online store, as seen in the video:
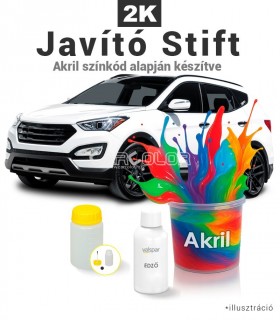
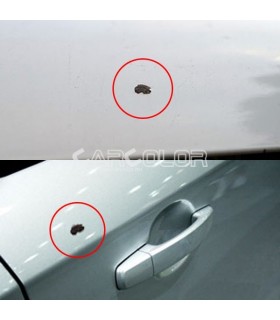
If you're looking for a solution for stone chips or minor scratches, we recommend the 2K touch-up paint pens.
Required materials: NEO Silicone Remover, Corcos Silicone Remover Wipes, P120 round sandpaper or wet sandpaper,sanding block,


Before starting the repair, wipe the surface with silicone remover to remove all contaminants. Important: Always use two wipes for cleaning, apply the silicone remover with the first, and wipe the surface with the second. Don’t let the degreaser evaporate!
Start sanding the damage with P120 grit sandpaper and use a sanding block. Thoroughly roughen the surface, but try to keep the scratches minimal. After sanding, clean the surface well to make it dust-free.
Required materials: putties, putty knife, Indasa mixing board, P120;P220;P320 round sandpaper or wet sandpaper, sanding block, red abrasive pad, Silicone Remover, Silicone Remover Wipes.


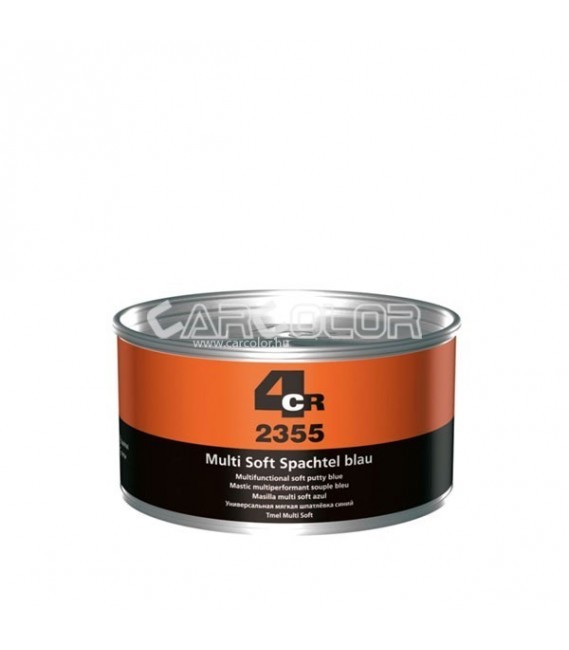


Use polyester putty for smoothing small scratches and dents (we used SLEM 100ml SK1 putty). It's important to thoroughly mix the putty to a uniform consistency, as the resin often settles on top. Use the putty knife to blend the putty with the hardener until fully homogenized.
Applying the Putty
Try to follow the shape of the surface with the putty knife. After curing, sand the putty with a maximum of P120 grit paper, working on the smallest area possible, sanding from the outside in. Refine the surface with P220 and P320 grit sandpaper, then further roughen the surface with the red abrasive pad. Follow up with cleaning and degreasing.
Required materials: Impa 2004 filler primer, masking paper, masking tape, P800 wet sandpaper, grey abrasive pad.


Mask the areas you don’t want to paint. We used the Impa filler spray, which should be shaken well for at least 3 minutes before use. Do a test spray into the air.
We’ll apply 2 or 3 layers of filler. Start spraying from the furthest point towards the damage so that the edge has a very thin layer of filler, making it easier to sand. Begin the second layer slightly inward, and if needed, apply a third layer closer to the repaired area. Allow the surface to dull completely between layers. After drying, sand the filler with P800 wet sandpaper, then further refine with the grey abrasive pad.
Required materials: Pre-filled spray (for metallic colors), NEO Silicone Remover, Corcos Silicone Remover Wipes, masking paper, masking tape, honeycomb cloth,


Dry the surface, degrease it, and mask the part again to minimize overspray. Degrease once more before painting, then wipe with a honeycomb cloth. Before applying the base coat, we used a special spread improver to help align the metallic flakes, but this step is optional.
Shake the pre-filled spray thoroughly and apply the first layer very thinly. Always start on the repaired area and move outward to avoid overspray on the inner area. Apply additional layers as shown in the video (usually 3 layers are sufficient). Be patient and let each layer dull completely between coats!
Required materials: SPRAY MAX 2K Clear Coat Spray (2K Clear Coat Spray) Important: Apply the clear coat immediately after the base coat dulls (max. 30 minutes).


After the base coat dulls, apply a “grip layer” with the clear coat spray. Wait for it to dry, then apply one or two thin layers of clear coat. After drying, remove the masking materials, and with the final clear coat layer, carefully blend the transition between the old and new paint. Avoid washing the repaired surface for 3-4 weeks. Please note that repairs are carried out at the user’s own risk, and our company assumes no responsibility for any errors.
Please sign in first.
Sign inCreate a free account to save loved items.
Sign inCreate a free account to use wishlists.
Sign in


 - Horpadás - Kőfelverődés - Kisebb sérülés&media=https://www.carcolor.hu/shop/7490-large_default/csinald-magad-szett-metal-szinekhez-horpadas-kofelverodes-kisebb-serules.jpg)
 - Horpadás - Kőfelverődés - Kisebb sérülés&media=https://www.carcolor.hu/shop/1383-large_default/csinald-magad-szett-metal-szinekhez-horpadas-kofelverodes-kisebb-serules.jpg)
 - Horpadás - Kőfelverődés - Kisebb sérülés&media=https://www.carcolor.hu/shop/1449-large_default/csinald-magad-szett-nagy-metal-szinekhez-horpadas-kofelverodes-kisebb-serules.jpg)
 - Horpadás - Kőfelverődés - Kisebb sérülés&media=https://www.carcolor.hu/shop/1450-large_default/csinald-magad-szett-nagy-akril-szinekhez-horpadas-kofelverodes-kisebb-serules.jpg)
&media=https://www.carcolor.hu/shop/17461-large_default/2k-touch-up-paint-pen-brush-set-metallic-200-ml.jpg)