



In stock
4,724 Ft
(tax incl.)
Online price
Primer spray is one of the most important steps for a durable paint finish: it provides consistent adhesion, levels minor surface imperfections, and helps the topcoat look better, more even, and last longer. It makes a real difference whether you’re doing a small touch-up or preparing an entire panel for painting.
In this category you’ll find solutions for different tasks:
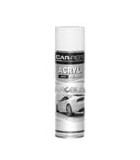
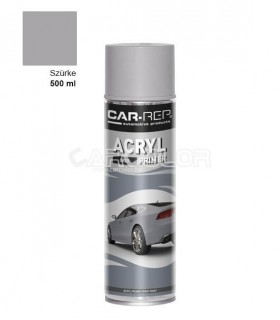
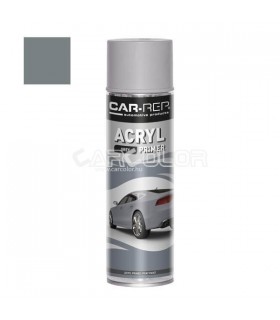
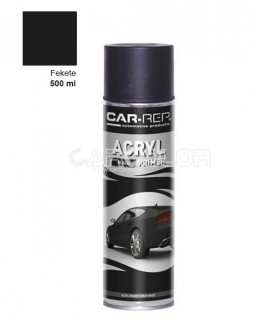
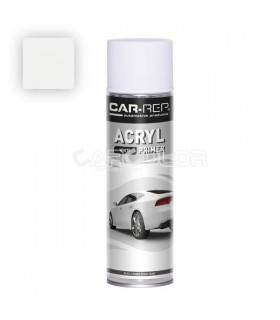
Acrylic primer spray: a general-purpose, quick-to-use base for most painting jobs.
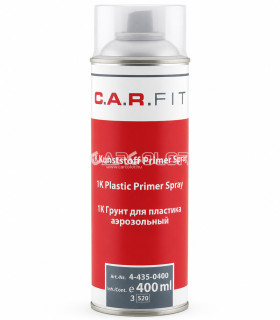
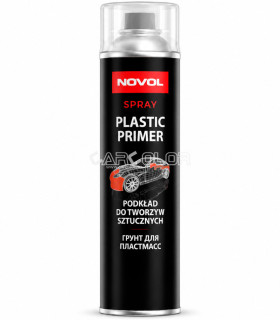
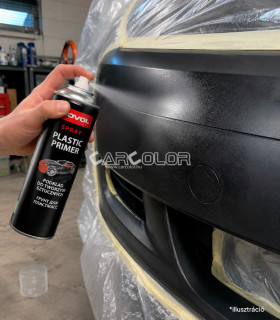
Plastic primer spray: an adhesion promoter for plastic parts (bumper, trim, mirror housing).
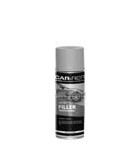
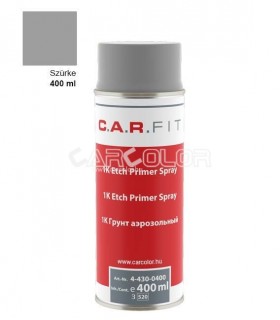
Filler primer spray: for “filling” fine scratches and sanding marks to achieve a smoother surface.
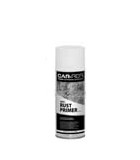
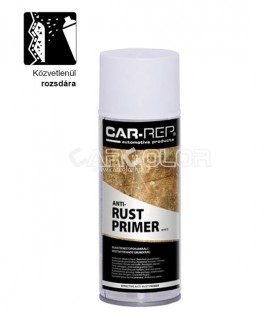
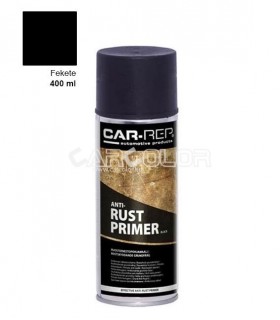
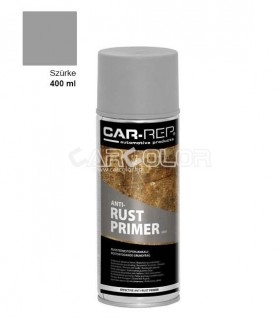
Rust-inhibiting primer spray: corrosion protection for metal surfaces after proper preparation.
The role of primer spray is to create a stable “bridge” between the surface and the topcoat. With proper priming, the paint adheres better, the surface becomes more uniform, and the risk of chipping, blistering, or patchy coverage is reduced.
Whether you’re doing a DIY touch-up or preparing a panel for a more demanding refinish, priming is not the step to cut corners on—because the final topcoat quality often depends on the primer.
The ideal primer spray always depends on the substrate (metal, plastic, existing paint) and your goal (adhesion, surface leveling, corrosion protection). The guidelines below help you decide quickly:
Tip: if you’re unsure, follow this order: surface type (plastic/metal) → type of defect (needs leveling or a general base is enough) → environmental exposure (risk of corrosion).
Most adhesion problems are not caused by the product but by poor prep. Primer spray performs best on a clean, degreased, and properly sanded surface.
Safety: when using aerosols, work in a well-ventilated area, wear appropriate respiratory protection, and follow the instructions on the product label.
For plastic parts, a plastic primer spray (adhesion promoter) is typically the first step because plastic is more flexible and doesn’t “grab” paint as easily. It helps prevent chipping and peeling later. Always match the exact layering to the surface type and the paint system you’re using.
Acrylic primer spray is more of a general-purpose, even adhesion base. Filler primer spray is designed to build film and “fill” fine scratches and sanding marks—so after sanding you get a smoother surface for the topcoat.
Not for a durable result. Long-term corrosion protection starts with removing the rust (mechanically or with a rust converter), then cleaning and degreasing the surface. Rust-inhibiting primer spray provides reliable protection on properly prepared metal.
Not always, but it’s often recommended. With filler primers, fine sanding is nearly essential for a smooth, high-quality base. With other primers, a clean and uniformly matte surface may be enough—but if you’re unsure, light fine sanding plus dust removal prevents many issues.
In general, several thin coats are better than one heavy coat. The ideal build depends on the task—adhesion promoters and filler primers behave differently. Always follow the specific product’s label instructions and recommendations.
It varies by product (and is affected by temperature, film thickness, and humidity). The safest approach is to follow the stated drying and recoat window. If you topcoat too soon, the risk of solvent reaction, blistering, and adhesion failure increases.
The most common causes are spraying from too far away, poor temperature/humidity, a dusty environment, or applying the coat too heavy or too “dry.” The fix is often straightforward: fine sanding, thorough dust removal, then re-apply thin, even coats under better conditions.
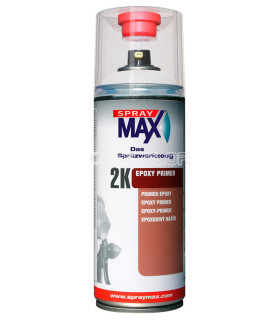
It’s rarely ideal. Metal, plastic, and surface defect repair typically require different primers. For consistent results, choose the right type: acrylic (general), plastic (adhesion), filler (leveling), rust-inhibiting (protection).
Please sign in first.
Sign inCreate a free account to save loved items.
Sign inCreate a free account to use wishlists.
Sign in

















 English
 Magyar
&media=https://www.carcolor.hu/shop/12238-large_default/car-rep-professional-filler-gray-400ml.jpg)
&media=https://www.carcolor.hu/shop/12217-large_default/car-rep-anty-rust-primer-white-400ml.jpg)
&media=https://www.carcolor.hu/shop/12196-large_default/car-rep-acryl-primer-red-500ml.jpg)

&media=https://www.carcolor.hu/shop/17806-large_default/1k-plastic-primer-spray-400-ml.jpg)
&media=https://www.carcolor.hu/shop/12220-large_default/car-rep-anty-rust-primer-black-400ml.jpg)
&media=https://www.carcolor.hu/shop/12199-large_default/car-rep-acryl-primer-gray-500ml.jpg)
&media=https://www.carcolor.hu/shop/12226-large_default/car-rep-anty-rust-primer-red-400ml.jpg)
&media=https://www.carcolor.hu/shop/12202-large_default/car-rep-acryl-primer-black-500ml.jpg)
&media=https://www.carcolor.hu/shop/13350-large_default/ppg-d8420-deltron-plastic-adhesion-promoter-aerosol-400-ml.jpg)
&media=https://www.carcolor.hu/shop/12208-large_default/car-rep-anty-rust-primer-grey-400ml.jpg)
&media=https://www.carcolor.hu/shop/12205-large_default/car-rep-acryl-primer-feher-500ml.jpg)
&media=https://www.carcolor.hu/shop/17795-large_default/novol-plastic-primer-adhesion-promoter-spray-500ml.jpg)
&media=https://www.carcolor.hu/shop/15442-large_default/2001-universal-primer-spray-400ml.jpg)
&media=https://www.carcolor.hu/shop/17894-large_default/spraymax-2k-epoxy-primer-filler-400ml.jpg)
&media=https://www.carcolor.hu/shop/13347-large_default/ppg-d8426-deltron-1k-aerosol-primer-dark-grey-g7-400ml.jpg)
&media=https://www.carcolor.hu/shop/13326-large_default/car-fit-1k-etch-acid-primer-gray-400ml.jpg)
&media=https://www.carcolor.hu/shop/13341-large_default/ppg-d8421-deltron-1k-aerosol-primer-medium-grey-g5-400ml.jpg)
&media=https://www.carcolor.hu/shop/15454-large_default/2004-filler-spray-1k-gray-400ml.jpg)
&media=https://www.carcolor.hu/shop/13344-large_default/ppg-d8424-deltron-1k-aerosol-primer-grey-g6-400ml.jpg)
&media=https://www.carcolor.hu/shop/15681-large_default/2004-filler-spray-1k-darkgray-400ml.jpg)
&media=https://www.carcolor.hu/shop/16671-large_default/car-fit-1k-epoxy-primer-400ml.jpg)
&media=https://www.carcolor.hu/shop/7593-large_default/car-fit-1k-hi-build-primer-filler-spray-gray-400-ml.jpg)