


In stock
8,331 Ft
(tax incl.)
9,055 Ft
Online price

One of the most important yet often dreaded and underrated steps in auto painting is masking. Many people believe that applying masking tape is a simple task, but poorly executed masking can lead to hours of extra work and additional costs.
In this comprehensive guide, we will cover every step needed to achieve professional-level masking, whether you are working on minor body repairs or a full car repaint.
The primary goal of masking is to prevent paint from reaching areas that should not be covered. Poor masking can result in:
Professional painters know that the perfect result depends 70% on preparation, and masking is a crucial part of that process.
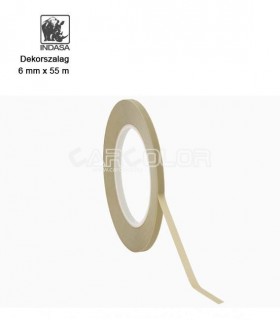
Choosing the right masking tape is crucial. Not all tapes are suitable for auto painting—cheap, general-purpose tapes may not adhere well and can even damage the paint when removed.
General masking tapes
Mid-range masking tapes
Professional-grade masking tapes
Specialty adhesives
Successful masking largely depends on surface preparation. Before applying masking tape, the surface must be thoroughly cleaned to remove contaminants that could affect adhesion.
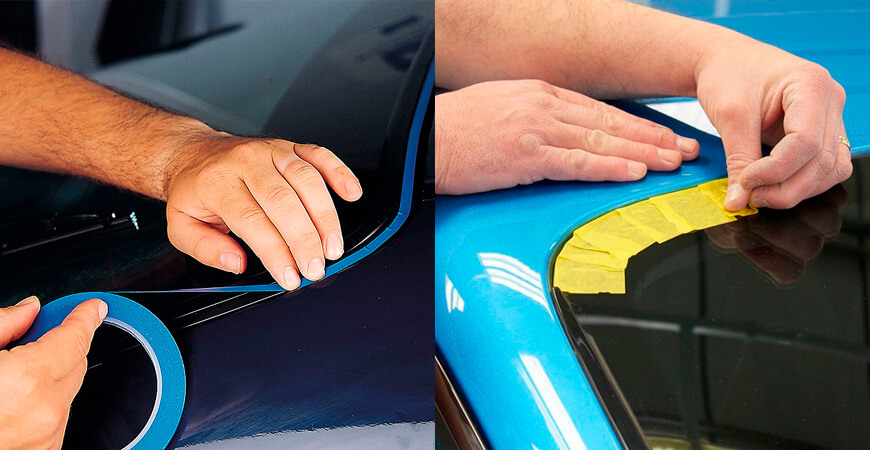
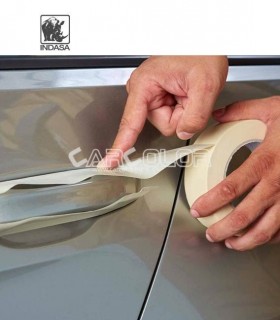
Once the surface is clean and prepared, selecting the right masking tape is the next step. For door frames, wider tape works best. Personally, I use 38mm tape, but 50mm can be even better for larger areas.
Reverse masking technique
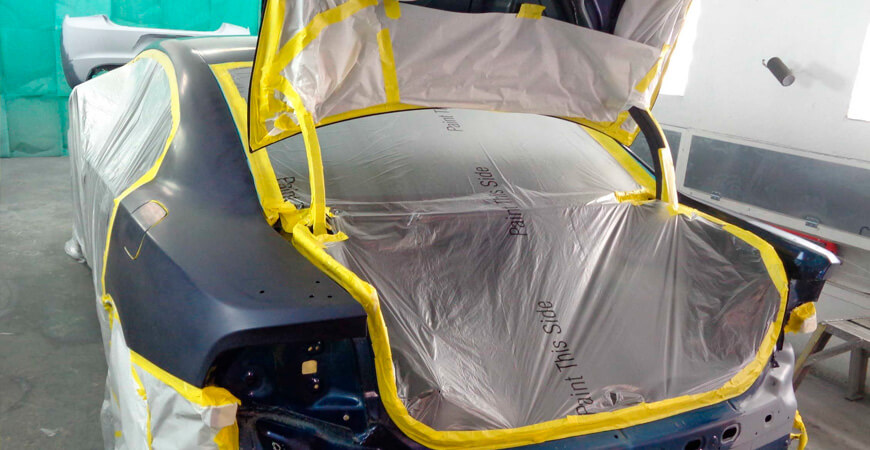
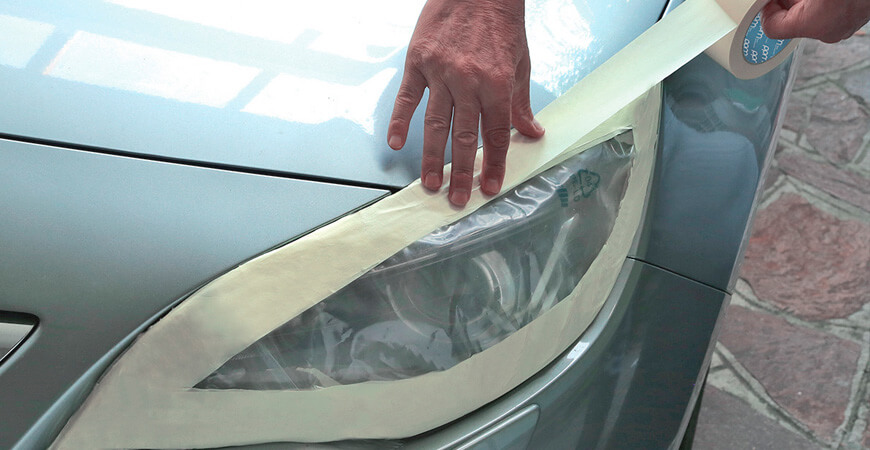
Step-by-step masking tutorial
Using masking tape correctly is essential for a flawless auto paint job. By choosing the right tape, preparing surfaces properly, and applying it with precision, you ensure professional results every time.
Please sign in first.
Sign inCreate a free account to save loved items.
Sign inCreate a free account to use wishlists.
Sign in


&media=https://www.carcolor.hu/shop/9751-large_default/indasa-trim-masking-tape-45mm-x-10m.jpg)
&media=https://www.carcolor.hu/shop/17543-large_default/premium-orange-masking-tape-80oc-38mm.jpg)
&media=https://www.carcolor.hu/shop/9670-large_default/indasatm-fine-line-tape-green-6mm.jpg)
&media=https://www.carcolor.hu/shop/9697-large_default/indasatm-fine-line-tape-blue-3mm.jpg)
&media=https://www.carcolor.hu/shop/9613-large_default/indasa-mte-premium-masking-tape-80oc-36mm.jpg)
&media=https://www.carcolor.hu/shop/9604-large_default/indasa-mte-premium-masking-tape-80oc-24mm.jpg)
&media=https://www.carcolor.hu/shop/9592-large_default/indasa-mte-premium-masking-tape-80oc-18mm.jpg)
&media=https://www.carcolor.hu/shop/9622-large_default/indasa-mte-premium-masking-tape-80oc-48mm.jpg)