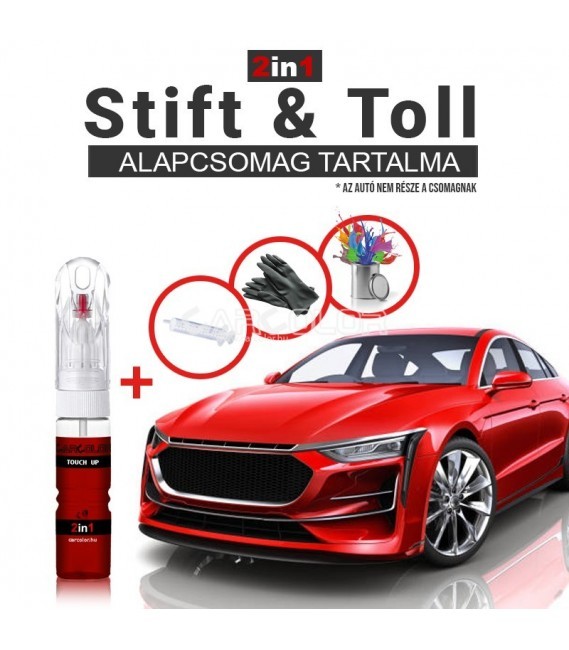
How to Use a Touch-Up Paint Pen

If your car’s paint gets damaged, it should be repaired as soon as possible!
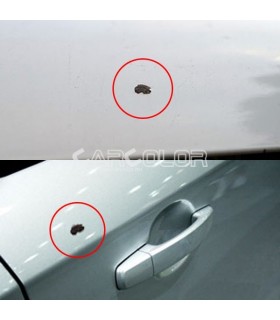
It's not just an aesthetic issue, as a small stone chip or a few millimeters long scratch may hardly be visible, at least at first. However, be aware: if you neglect a paint damage caused by a stone chip or scratch, within a few months, it will start to rust, and the 1-2 millimeter issue will turn into a centimeter, then a palm-sized rust spot. At this stage, you won’t be able to fix the problem with an inexpensive touch-up paint pen, and you will definitely need the help of a professional auto painter. With today's (2021) prices, such repairs can cost between 40,000 and 100,000 Forints per element.
JUST A SMALL SCRATCH. WHAT COULD GO WRONG?

Here’s how to repair scratches and stone chips on your car’s paint using a simple method
If the damage is no larger than a 5 Forint coin, the best solution is a Touch-Up Paint Pen!
Step 1 – Thoroughly Clean the Surface!
A clean working surface is essential for any repair, and this is especially true when you want to repair your car’s paint. Find a good location for your car, where lighting is adequate and no wind is blowing dust onto the fresh paint. A garage is ideal, but if that’s not available, choose a windless day for the repair. If everything is set, first wash the car and remove all dirt from the surface. Dry it with a soft microfiber cloth or a similar quality material.


THOROUGH CLEANING AND DEGREASING IS IMPORTANT.

Step 2 – Degrease the Surface for Perfect Paint Adhesion!
After washing the car, you’ve likely removed the dirt and mud residue from the paint. However, an invisible enemy still waits on the surface to sabotage you: grease and silicone residues, which ruin paint adhesion.
Fortunately, there is a solution: the Silicone Cleaner, which permanently removes invisible surface contaminants. Use this to wipe down the surface, or if you don’t have it on hand, clean alcohol will also do the job.
BE CAREFUL, THESE MATERIALS ARE HIGHLY FLAMMABLE, DO NOT SMOKE WHILE USING THEM!


Step 3 – Prepare the Paint Repair Pen!
In the touch-up paint pen package, you receive a metal container filled with paint, which needs to be thoroughly mixed before use. Since the container provides enough paint for the car’s lifetime, only transfer a small amount into the touch-up pen for application.


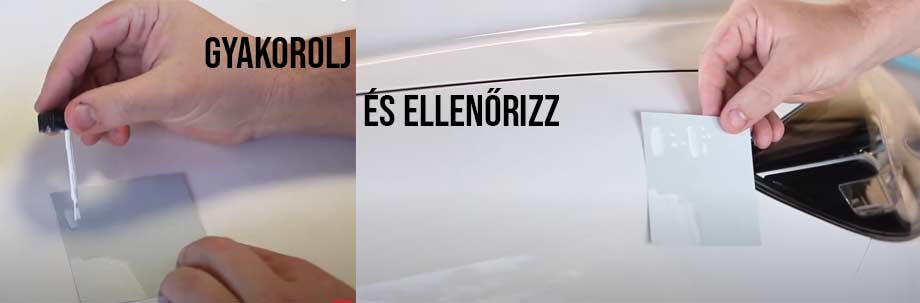
Step 4 – Practice on a Piece of Paper!
Before starting the repair on your car’s paint, take a clean piece of paper and draw a few strokes with the brush. Don’t skip this step, as it helps familiarize yourself with the brush, and you can compare the painted paper next to your car’s paint to ensure color match.
Step 5 – Apply the Paint in Thin Layers!
CAR PAINT MUST BE APPLIED IN VERY THIN LAYERS! THE THICKER THE LAYER, THE DARKER THE COLOR!
Once the surface is clean, you’ve practiced with the touch-up pen, and the color looks good, you can start repairing the paint damage. Apply the car paint thinly on the surface using the brush and try to be as precise as possible. If you make a mistake, don’t panic! If you go over the damaged area, the repair doesn’t look nice, or you’ve made an error, carefully wipe it off with universal thinner (don’t use nitro thinner!). Make sure to wipe the thinner off completely, and then clean the surface again with silicone cleaner. Once the surface is clean again, you can start over with the painting. Repeat the process until all imperfections are repaired.
It doesn’t always work on the first try, but don’t worry. Wipe it off and start over!

Step 6 – Allow the Paint to Dry Completely!
Once you’ve successfully repaired the stone chips and scratches, all that’s left is to wait for the car paint to fully dry. This takes about 1-2 weeks, so do not wash the car during this time. Once it’s dry, even a high-pressure washer won’t remove the paint, so you can use it as usual (just avoid the setting that can punch through metal!).
Related products


In Stock
5,391 Ft
(tax incl.)
5,990 Ft
Online price
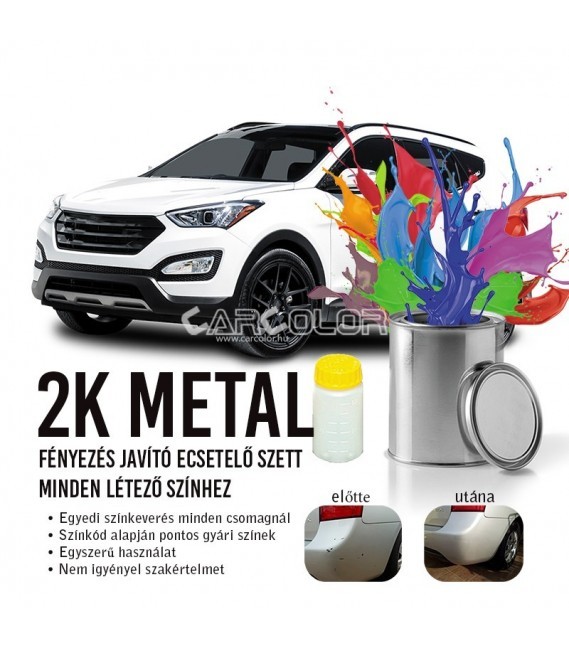
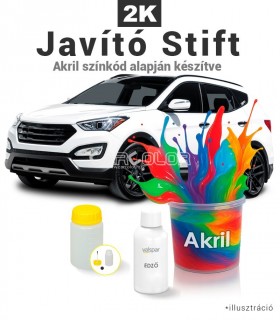
Custom-mixed car paint pen based on the car’s color code for stone chips, scratches, and other minor damages. Our experts, with 32 years of experience, mix the exact color shade based on the provided color code using...

In Stock
12,890 Ft
(tax incl.)
Online price


In Stock
4,790 Ft
(tax incl.)
Online price
Discover the CarColor car paint spray, individually prepared based on your car’s color code from premium factory-grade car paints. Each spray is custom-mixed to achieve the precise shade according to the specific...


&media=https://www.carcolor.hu/shop/15616-large_default/custom-filled-car-paint-aerosol-metal-colors.jpg)
In Stock
4,790 Ft
(tax incl.)
Online price
Discover the CarColor automotive paint spray, custom-filled according to your car’s color code from the finest quality factory automotive paints. Each spray is tailored to ensure the exact shade match by mixing the...
&media=https://www.carcolor.hu/shop/16412-large_default/custom-filled-car-paint-aerosol-acrylic-colors.jpg)
Leave a Comment
Leave a Reply
Please login to post a comment.