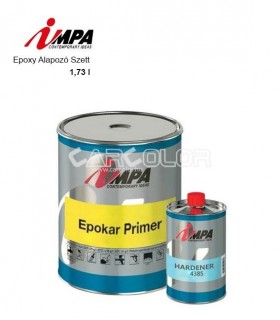
Guide to Proper Use of Automotive Primer
Applying automotive primer is a crucial step in the process of refinishing or repairing a vehicle's body surface. This guide provides step-by-step instructions on the correct application of automotive primer, ensuring a smooth and professional finish.
1. Surface Preparation:
- Begin by thoroughly cleaning the surface to be primed. Remove any dirt, grease, or contaminants using a suitable automotive cleaner.
- Sand the surface with fine-grit sandpaper to create a smooth and even substrate for the primer. Wipe away sanding dust with a clean, lint-free cloth.
2. Safety Precautions:
- Wear appropriate personal protective equipment (PPE), including safety glasses, gloves, and a respirator, to protect yourself from potential health hazards.
3. Choose the Right Primer:
- Select an automotive primer suitable for the specific substrate and intended purpose. Different primers are designed for various materials, such as metal, plastic, or fiberglass.
4. Mixing the Primer:
- Read and follow the manufacturer's instructions regarding the mixing ratio. Most automotive primers are two-component systems that require blending a primer base with a hardener.
- Use graduated mixing cups and stir sticks to ensure accurate measurements and thorough mixing.
5. Application Equipment:
- Utilize a high-quality spray gun designed for automotive applications. Ensure the gun is clean and in good working condition.
- Adjust the spray gun settings, such as air pressure and fan pattern, according to the primer manufacturer's recommendations.
6. Application Process:
- Apply a light, even coat of primer to the surface. Hold the spray gun approximately 6 to 8 inches away from the substrate.
- Allow the first coat to flash or dry according to the primer's specified time. Apply additional coats as needed, following the recommended flash times between each coat.
- Aim for complete coverage while avoiding excessive buildup, which can lead to runs and imperfections.
7. Sanding Between Coats:
- Once the primer has dried completely, sand the surface lightly with fine-grit sandpaper (400-600 grit) to remove any minor imperfections. Wipe away sanding residue.
8. Drying Time:
- Follow the primer manufacturer's instructions regarding drying times. It is essential to allow the primer to cure fully before proceeding to the next steps in the refinishing process.
9. Topcoat Application:
- After the primer has cured, it's ready for the application of the topcoat. Choose a high-quality automotive paint and follow the manufacturer's instructions for proper mixing and application.
10. Final Inspection:
- Inspect the painted surface for any defects, such as runs, orange peel, or uneven texture. If needed, sand and polish the topcoat to achieve a flawless finish.
By following these steps and adhering to the specific recommendations provided by the primer manufacturer, you can ensure a professional and durable finish for your automotive painting project. Always prioritize safety and precision throughout the entire process.


