How to Paint Aluminum for Long-Lasting Results – Expert Guide
Painting aluminum is notoriously challenging, as paint does not adhere well to the material and can easily peel or scratch off. However, with the proper techniques and materials, durable and aesthetically pleasing results can be achieved. In this article, we will detail how to prepare, prime, and paint aluminum so that the paint not only looks good but also lasts a long time.
In this article...
Why is Aluminum Painting Difficult?
An aluminum surface quickly develops a thin oxide layer that prevents proper paint adhesion. This oxide layer is extremely hard and resistant, complicating the painting process. Additionally, the aluminum surface often harbors oils, fats, and other contaminants that further deteriorate adhesion. However, proper preparation and the use of appropriate materials can significantly improve paint durability.
To ensure the paint's durability, the following steps must be followed:
- Cleaning – Removing oils and fats.
- Sanding – Texturing the surface for better adhesion.
- Priming – Using a specialized primer for better coverage.
- Painting – Applying the final coat of paint.
We will now present this process in detail.
1. Cleaning Aluminum – The First Step to Successful Painting
Cleaning is one of the most crucial steps in painting aluminum. The aluminum surface easily oxidizes and gets contaminated with oil, fat, and other substances that hinder paint adhesion. If not thoroughly cleaned, the paint may flake, peel off, or result in uneven coverage.
While silicone remover is commonly used for cleaning in most painting processes, like with plastic element painting, using soapy water is also an effective solution for aluminum. It's best to combine the two processes: start with a strong hot soapy wash, then continue with silicone remover.
Silicone remover is specifically designed to remove fats, oils, and other contaminants without leaving any residue. This is particularly important because residues from traditional cleaners can also hinder paint adhesion.
Before starting the cleaning, it is advisable to check whether there is a thin plastic film on the aluminum surface left by the manufacturers for protection. This layer is hard to notice, but if it remains, the paint will not adhere properly.
During the cleaning process, use rubber gloves to prevent oils from your skin from recontaminating the surface. Pour silicone remover onto a clean, lint-free cloth or a silicone cloth, then thoroughly wipe down the entire aluminum surface. It is essential to meticulously clean every nook and cranny, as even the smallest contamination can cause problems during painting.
With this method, the aluminum will be completely clean and prepared for the next step, which is sanding. If this step is carefully performed, the paint will adhere much better, ensuring a longer-lasting painted surface.
You will need:
- Liquid soap (with degreasing properties).
- Hot water.
- Scouring pad or scrub sponge.
- Silicone remover and cloth
Cleaning steps:
- Fill a container with hot water and add dish soap.
- Thoroughly scrub the aluminum with the scouring pad.
- Rinse with hot water and dry off.
- Use the silicone remover and wipe down the entire surface.
- Do not touch the clean surface with your hands as the oils from your skin can also hinder paint adhesion.
2. Sanding Aluminum – How to Prepare the Surface for Painting?
Once the aluminum surface has been thoroughly cleaned, the next step is to remove the oxide layer and micro-contaminants. This step is crucial for ensuring that the paint adheres well and remains durable over time. Aluminum naturally oxidizes quickly, and while the oxide layer is not always visible to the naked eye, it prevents proper paint adhesion.
When sanding aluminum, the goal is to create a sufficiently rough surface that allows the paint and primer to bond mechanically. Simply cleaning the material is not enough; physical preparation is essential for a long-lasting finish.
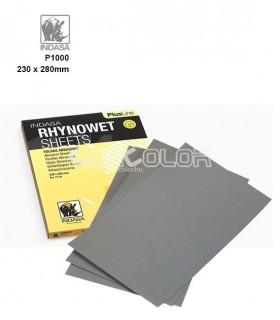
For sanding, a P320 grit sandpaper is recommended. This grit is coarse enough to remove the oxide layer and roughen the surface without leaving deep scratches. The goal is to achieve an even, slightly matte finish without excessive roughness. Sanding can be done manually or using a power sander, depending on the size of the surface.
Apply even pressure while sanding and ensure that all areas are covered. Internal corners and hard-to-reach spots are especially important, as skipped areas may lead to premature paint peeling. If needed, a small wire brush or abrasive pad can be used for deeper grooves.
After sanding, a significant amount of fine aluminum dust will remain on the surface, which must be removed. First, wipe off the dust with a clean, dry cloth, then use a silicone remover on a slightly damp cloth to ensure that all residues are eliminated.
If a particularly smooth surface is desired, follow the P320 sanding with a finer grit, such as 600 or even 1000. This is especially useful if applying a high-gloss paint as the final coat, where a perfectly smooth base provides the best visual results.
Sanding is not only essential for removing the oxide layer but also for creating a roughened surface that allows the primer and paint to adhere strongly for the long term. Properly executed sanding is one of the most critical steps in achieving a durable aluminum paint job.
Required Tools:
- 320-grit sandpaper (followed by finer grits if a smoother finish is desired).
- Paper towels for dust removal.
Sanding Steps:
- Sand the aluminum surface evenly.
- Wipe off the dust generated from sanding.
- If a smoother surface is required, use 600 or 1000-grit sandpaper.

3. Priming Aluminum: Epoxy Primer or Acid Etch Primer?
One of the most crucial steps in painting aluminum is priming, which ensures that the paint adheres properly and remains durable over time. There are two main types of primers used for aluminum painting: epoxy primer and acid etch primer. There are also 2-component spray versions available, allowing you to create a durable coating without a compressor.
Epoxy Primer
Epoxy primer is a two-component coating consisting of an epoxy resin and an activator. During the chemical reaction, it forms an extremely strong and resistant layer on the aluminum surface. One of its biggest advantages is its excellent adhesion, providing outstanding resistance to corrosion and chemical exposure.
Acid Etch Primer
Acid etch primer, also known as wash primer, is specifically designed for metal surfaces that are difficult to adhere to, such as aluminum or stainless steel. This type contains phosphoric acid, which chemically reacts with the aluminum and creates a thin layer that enhances paint adhesion.
IMPORTANT: Some paints and fillers cannot be used on acid etch primers. Always read the manufacturer’s recommendations carefully!
Applying the Primer
The selected aluminum primer should be applied in thin layers. It is essential to cover the entire surface evenly but avoid applying excessively thick layers. Always check the product’s technical guidelines to follow the correct drying and ventilation times.
After applying the first layer, wait approximately 5-15 minutes for the solvents to evaporate properly before applying the next coat. Primers generally dry quickly, so this process can be repeated 1-2 times until adequate coverage is achieved.
If you want an especially smooth surface, allow the final primer layer to dry for at least one day. Then, you can lightly sand it with P600-800, or even 1000 grit sandpaper to ensure the best possible base for the final paint layer.
Required tools:
- Epoxy or acid etch primer
- Masking tape (if certain areas need to be protected).
Priming steps:
- Spray a thin layer of primer onto the aluminum surface.
- Let it dry for 5-15 minutes.
- Repeat the process 2-3 times for full coverage.
- If a smoother finish is desired, lightly sand the final primer layer with P600–1000 grit sandpaper after drying.
4. Painting Aluminum
Once the aluminum surface has been properly prepared—cleaned, sanded, and primed—the next step is the actual painting process. When aluminum is well-prepared and primed, painting it is similar to other standard painting techniques, so I won’t go into redundant details.
Once the primer is completely dry, the painting can begin.
Recommended Paint Types:
- 2K Polyurethane paints – These form an exceptionally durable and strong coating. (e.g., VIM industrial paints)
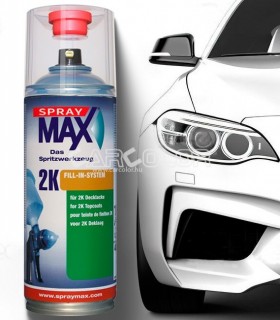
- 2K Acrylic paints – Provide excellent coverage and durability. (such as 2K SprayMax paint)
Painting Steps:
- Apply the paint in thin layers to avoid runs.
- Wait 15-20 minutes between coats.
- Allow the paint to dry for at least 24-48 hours.
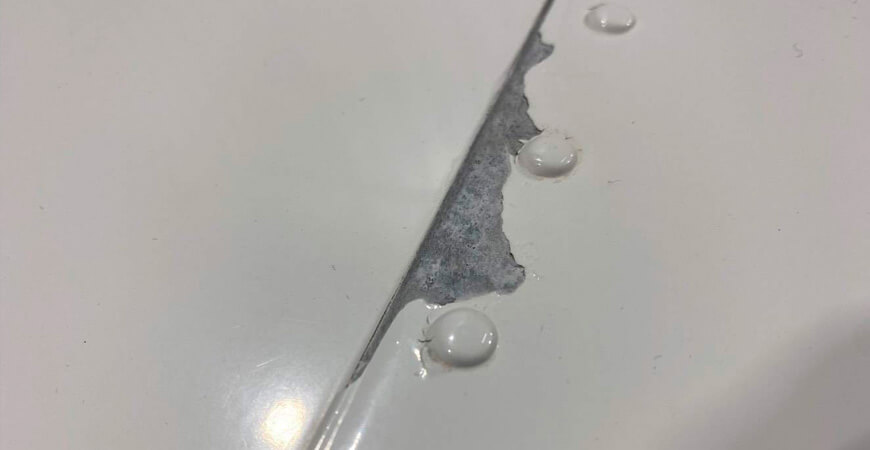
Complete curing of the paint may take up to 7 days, so handle it with care at first. Try the fingernail test after a few days: if the paint peels off, a step in the process was likely skipped.
Painting aluminum is a complex process that requires careful preparation and precise work. Proper cleaning, sanding, priming, and painting ensure that the paint not only looks good but also remains durable against external influences.
By following this step-by-step guide, you can achieve a long-lasting and aesthetically pleasing result. Thorough preparation and the right materials are key to success!
Common Mistakes and Solutions
| Mistake | Cause | Solution |
|---|---|---|
| The paint is chipping | Improper surface preparation or residual oxide layer | Thorough surface and use an acid etch primer. |
| The paint is uneven | The surface was not adequately cleaned | Use a silicone remover before painting to eliminate grease and oils. |
| The paint does not adhere properly | Micro-contaminants remained on the surface | Ensure that all contaminants are removed after sanding. |
| Bubbles appear after painting | The paint was applied too quickly or in overly thick layers | Apply the paint in thin layers and allow sufficient drying time between coats. |
Related products


In stock
1,143 Ft
(tax incl.)
Online price


In stock
11,049 Ft
(tax incl.)
Online price


In stock
3,302 Ft
(tax incl.)
Online price

In stock
227 Ft
(tax incl.)
Online price


In stock
227 Ft
(tax incl.)
Online price
&media=https://www.carcolor.hu/shop/12028-large_default/spraymax-2k-epoxy-primer-filler-400ml.jpg)
&media=https://www.carcolor.hu/shop/12037-large_default/spraymax-2k-wash-primer-250ml.jpg)
&media=https://www.carcolor.hu/shop/7584-large_default/car-fit-2k-epoxy-primer-set-11-1l.jpg)
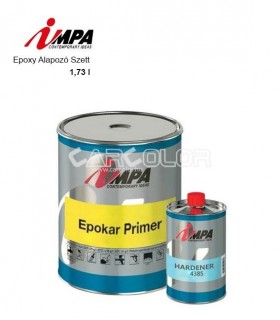
&media=https://www.carcolor.hu/shop/15675-large_default/impa-1385-epoxy-primer-set-173-l.jpg)
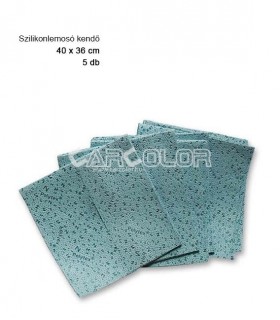
&media=https://www.carcolor.hu/shop/9541-large_default/anti-silicon-cloth-5pcs.jpg)
&media=https://www.carcolor.hu/shop/6580-large_default/carfit-silicone-remover-strawberry-1l.jpg)
&media=https://www.carcolor.hu/shop/8225-large_default/indasatm-rhynowet-wet-dry-use-sandpaper-9-x-11-p320.jpg)
&media=https://www.carcolor.hu/shop/8082-large_default/3m-734-01973-wet-sanding-sheets-p600.jpg)
&media=https://www.carcolor.hu/shop/8215-large_default/indasatm-rhynowet-wet-dry-use-sandpaper-9-x-11-p1000.jpg)
In Stock
8,990 Ft
(tax incl.)
Online price
Discover the CarColor Professional Car Paint Spray, custom-made according to your car’s color code using the finest factory automotive paints. Each spray is personalized to ensure the exact shade match by mixing the...
&media=https://www.carcolor.hu/shop/17116-large_default/2k-custom-filled-car-paint-aerosol-spray-max-acryl.jpg)
Leave a Comment
Leave a Reply
Please login to post a comment.