


In stock
4,191 Ft
(tax incl.)
Online price
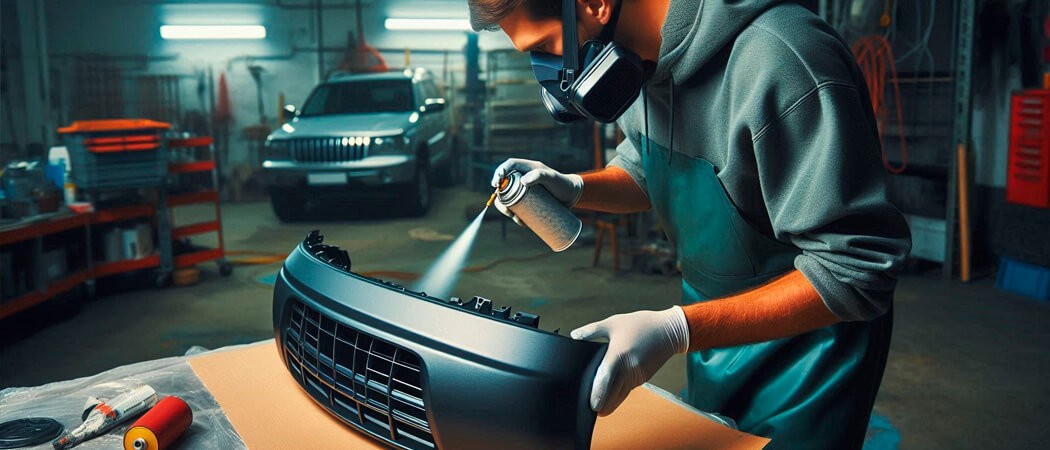
Painting plastic elements (or "coating") is a process that is accessible to DIY enthusiasts but requires attention and thorough preparation. In this comprehensive guide, you will learn how to prepare plastic surfaces, which paint and primer to use, and how to apply them to ensure durability and a visually pleasing finish. This post not only aids in painting the plastic components of vehicles but also applies the principles demonstrated here to most plastic objects in general.
Painting plastics is a more complex process than painting metals and poses significant challenges for both painters and paint manufacturers. While coatings applied to plastics face many of the same issues as those on metals, the unique properties of plastics can lead to specific failures. One of the greatest difficulties arises because there are many different types of plastics, each with distinct surface properties and paintability. The lower surface energy and polarity of plastics often result in more frequent wetting and adhesion problems compared to pre-treated metals.
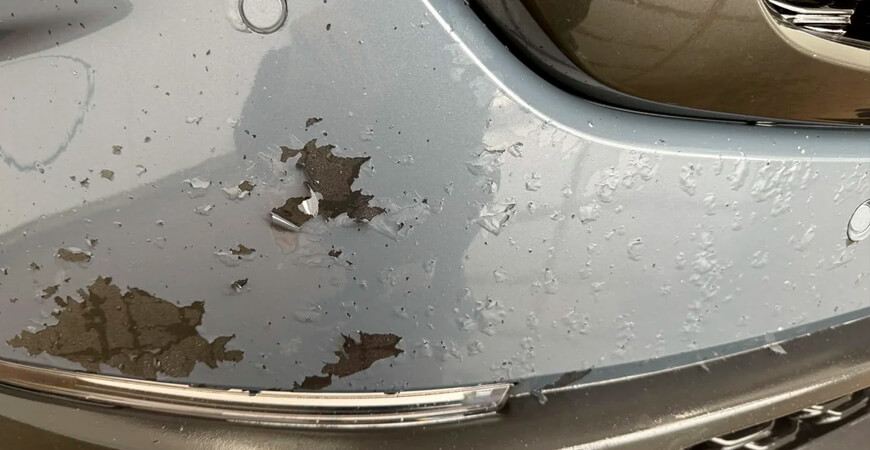
To minimize painting errors and achieve proper coating adhesion, the base surface must be completely clean. This is especially true for plastics, as they can often retain mold release agents, as well as being prone to the adherence of oils, sanding dust, and other contaminants. Additionally, plasticizers and other compounds from within the plastics can emerge over time, further deteriorating the paint's adhesion. Therefore, precise and thorough preparation is crucial.
Plastics are typically cleaned with high-pressure washing followed by solvent wiping (using a silicone remover) before painting. In home settings, or if not painting an entire bumper, it may suffice to thoroughly clean the surface with soapy water. This process may need to be repeated several times if necessary.
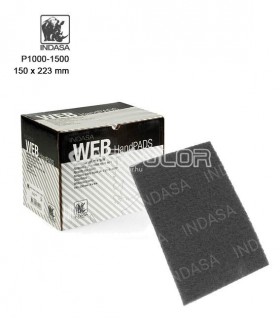
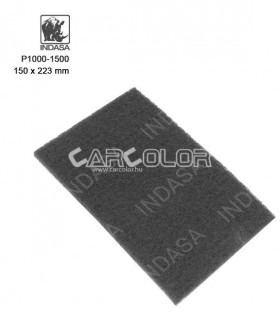
Once the part has completely dried, the next step is surface roughening. While some application manuals may not specifically prescribe this, proper sanding significantly contributes to improving paint adhesion and the durability of the final result. For sanding, use an Indasa gray scuff pad (ultrafine) and matte down the surface, taking care not to scratch the material too deeply. It's important that the inner edges are also attended to, as paint flaking often starts from there.
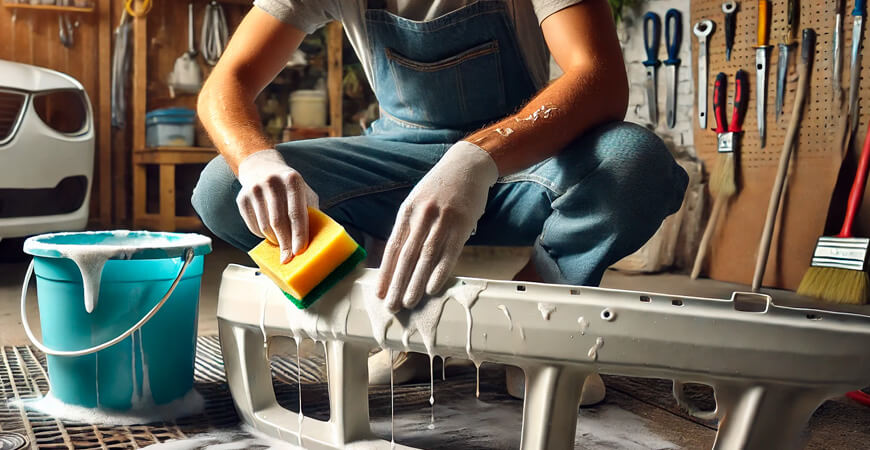
After sanding, the surface will become evenly matte, which facilitates paint adhesion. Next, use solvent wiping to remove all contaminants, including sanding dust, oils, and silicone residues. It is crucial that the antistatic silicone remover is not allowed to evaporate on its own because it can leave residues that impair adhesion. During the cleaning process, always use two cloths: apply the solvent with the first cloth and wipe the surface dry with the second.

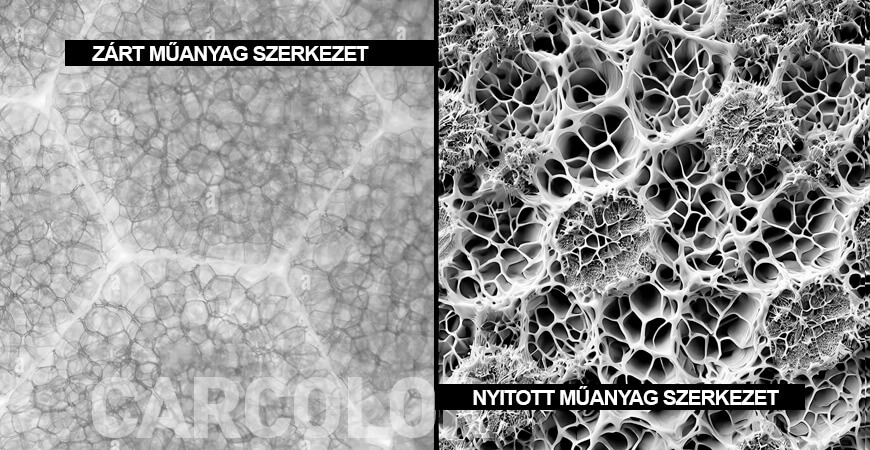
The operation of primers designed for plastics differs from those typically used on metals because these surfaces are generally smooth and sealed, which inhibits proper paint embedding. A plastic primer is a specially developed coating that aids in paint adhesion, enhances durability, and prevents the paint layer from peeling or chipping off.
The primer chemically activates the plastic surface, facilitating the penetration of paint into the microstructure, then seals the cells, thereby ensuring strong and durable adhesion. Since the activation time is limited, it's crucial to time it right.
IF THE TOP COAT IS APPLIED TOO LATE, THE PRIMER WILL NO LONGER BE ABLE TO EFFECTIVELY MEDIATE ADHESION, SIGNIFICANTLY INCREASING THE RISK OF PAINT PEELING.
Shake the can for approximately 2-3 minutes to ensure the ingredients are well mixed, then apply an even, thin layer of about 5 ÷ 10 µm thickness to the surface. (5 ÷ 10 µm (micrometer) thickness corresponds to a very thin layer during spray painting, generally achieving a single thin layer thickness of about 10-20 µm, while a normal layer ranges from 20-40 µm.)
Once the primer layer is applied, it is essential to adhere to the application manual's specified drying time, usually 10-15 minutes. This ensures that the primer adequately adheres to the surface, preparing it for the next layer, whether it be a filler primer or a final topcoat, depending on the base surface preparation required for the desired result.
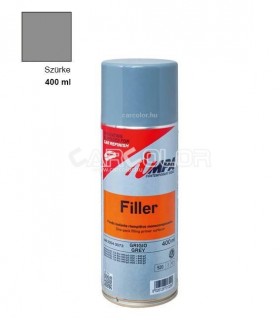
In a previous post, we covered this extensively, so summarizing briefly: a filler primer (filler) is a thicker, easily sandable primer layer used to level out surface defects, scratches, and unevenness. Its use is particularly recommended on rough or repaired surfaces, where it is necessary to create a smooth, even base for the topcoat.
Given the wide variety of types and brands available on the market, it is essential to carefully read and follow the manufacturer's instructions. For the IMPA filler primer we distribute, it is advisable to apply 2-3 thin layers, depending on the needs of the specific surface. Allow 10-15 minutes between each layer for the solvents to properly evaporate, thus ensuring even bonding of the layers. Avoid applying too thickly, as this can cause drying issues and degrade the final surface quality.
After drying, sand the filler with P800-grade wet sandpaper to achieve a smooth and even surface. If everything checks out, a quick wipe with a silicone remover can be done before proceeding to paint the part.

When selecting paint, always adjust to the specific requirements of the task to achieve the most suitable coating.
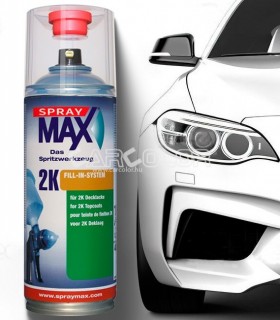
2K acrylic (Uni colors)
If you wish to use traditional, non-metallic colors – such as those on the RAL color scale – the 2K acrylic paint spray is an excellent choice. In this case, the hardener is already preloaded into the can, so it only needs to be activated before use. This is a durable and simple solution, which does not require additional varnishing.
Metallic colors
If you desire a metallic or pearl effect, you will need separate base coat and 2K topcoat. The base paint determines the base color and the distribution of the metallic particles, while the topcoat provides the final gloss and protection, without which the coating would be matte and less durable.
If you want to learn more about the use of car paint spray , read our previous article "DIY Auto Painting: Expert Video Guide". In the article, we show the painting process step by step on video and provide useful tips and practical advice for achieving the perfect finish.
I hope this guide hasn't discouraged anyone from painting plastic surfaces! Although painting plastic elements is a precise, multi-phase process that requires thorough preparation, the greatest challenge is undoubtedly the proper preparation of the surface. If done carefully, the final result will not only be aesthetic but also durable.
| Error | Cause | Solution |
|---|---|---|
| Paint peels off the plastic | You did not use a primer or used an incorrect type | Always use a plastic primer! |
| Uneven surface formation | The surface was not properly prepared (you did not sand it) | Use a scuff pad or P800-P1000 sandpaper before painting! |
| Paint does not adhere | The surface is too oily or silicone-rich | Use an antistatic and silicone remover beforehand! |
| Paint appears blotchy | Incorrect layer thickness | Apply the paint in a thin, even layer! |
Step-by-Step Plastic Painting Video
Please sign in first.
Sign inCreate a free account to save loved items.
Sign inCreate a free account to use wishlists.
Sign in


&media=https://www.carcolor.hu/shop/7591-large_default/1k-plastic-primer-spray-400-ml.jpg)
&media=https://www.carcolor.hu/shop/5918-large_default/debeer-1-851-antistatic-degreaser-250ml.jpg)
&media=https://www.carcolor.hu/shop/15454-large_default/2004-filler-spray-1k-gray-400ml.jpg)
&media=https://www.carcolor.hu/shop/17116-large_default/2k-custom-filled-car-paint-aerosol-spray-max-acryl.jpg)
&media=https://www.carcolor.hu/shop/17647-large_default/custom-filled-car-paint-aerosol-metal-colors.jpg)
&media=https://www.carcolor.hu/shop/17121-large_default/spraymax-hs-2k-lacquer-gloss-400ml.jpg)
&media=https://www.carcolor.hu/shop/17125-large_default/spraymax-matt-2k-lacquer-matt-400ml.jpg)